One of the largest benefits of homeschooling is that it allows you to make education fun. March is National Craft Month, making it the perfect time to include hands-on learning in your homeschool day! Read on to find ten ideas for educational craft projects to help you maximize your students’ fun and learning.
Leprechaun Trap
Age: 4-10 years
Time: 30-40 minutes
We start our list with a St. Patrick’s Day craft for the month of March. St. Patrick’s Day honors Ireland’s patron saint, St. Patrick, and will be celebrated on March 17th this year. One of the most iconic elements of Irish folklore is the leprechaun, and many celebrate the day by creating a ‘Leprechaun trap’. With such a rich history, you can easily weave learning into this craft. Discover the history of St. Patrick’s Day and explore this craft, along with other related activities, using this list.
Materials Needed:
Small cardboard box
Dowel rod or sturdy stick
String
Green construction paper
Gold coins and glitter
Scissors, tape, glue
Instructions:
[1] Prop the box on one edge using a dowel rod to hold it up at an angle.
[2] Tie string to the dowel rod and extend it outside the trap area.
[3] Place gold coin bait beneath the propped box. The theory: pulling the string removes the prop, and the box falls to trap the leprechaun.
[4] Decorate the box exterior with green paper and shamrock cutouts.
[5] Add a gold glitter path leading to the trap entrance.
[6] Create signs saying “Free Gold!” to lure the leprechaun.
[7] Set up in a corner before bedtime on St. Patrick’s Day eve.
Egg Wax Decorating
Age: 5-12 years
Time: 40-90 minutes
Egg decorating is a traditional art form found throughout Eastern and Central Europe. There are many different styles, techniques, and names for these eggs, depending on the region. Use this activity to learn about the symbolism of different decorating styles, and the history of the imperial Faberge eggs.
Materials Needed:
Crayons
Pins
Pencil with rubber tip
Tea light candles
Aromatherapy lamp
Harboiled eggs
McCormick’s assorted liquid food coloring
Plastic bottle cap
Instructions:
[1] Set up your melting set by lighting a candle and putting a pot with a piece of crayon above it, or turning on your aromatherapy lamp.
[2] Put the pin into the rubber tip of the pencil and that will be your painting ‘brush’, dip it into the wax and create patterns on the egg shell.
[3] To put the egg down if needed you can use a plastic bottle cup which the egg sits nicely in.
[4] Dip egg in food coloring, repeat process as many times as desired.
[1] Select three different colors of construction paper.
[2] Shred each piece of paper and place each color in a separate bowl. Add water and let sit until paper gets pulpy and soft, about 30 minutes.
[3] Pour one packet of seeds into each bowl. Mix.
[4] Form the paper into small balls roughly the size of a quarter, mixing colors as you wish.
[5] Plant seed balls in a pot or directly in your garden.
[6] Check on the growth of your seed pods throughout the spring.
Stained Glass Tissue Paper Lanterns
Age: 7-14 years
Time: 40-90 minutes
Play around with design and think about shapes and space with this project. Learn about the history of stained glass and see a step-by-step tutorial of this craft.
Materials Needed:
Old glass jam jars
Tissue paper
Mod Podge or PVA glue (Mod Podge gives a more durable finish)
Paint brush
Scissors
Wire
Wire cutters
Instructions:
[1] Cut up your coloured tissue paper into small shapes.
[2] Apply Mod Podge to the glass jar with a brush, then stick on your tissue paper shapes. Paint a layer of glue over the tissue to seal the surface.
[3] Once you have covered your whole jar with coloured paper, leave to dry overnight.
[4] Once the glue is dry, apply a final layer of Mod Podge to seal.
[5] Once fully dry, twist the wire around the lip of the jam jar, leaving room for the large handle on the wire. Create a handle and wrap it around the wire on the lip of the jar. Trim the wire as needed once securely attached.
Painting With Nature
Age: 5-12 years
Time: 40-90 minutes
Exploring nature is one of the best ways to spend time with your kids. Use this craft as a way to learn about the biome in which you live. Get curious with your child and learn about the trees, animals, and fossils that exist around your home. Use this activity to learn about biomes and the natural world.
Materials Needed:
Acrylic paint
Paper
Sticks, leaves, rocks, etc.
Paint brunch
Instructions:
[1] Go outside and collect 5-10 natural materials that interest your child.
[2] Take the materials inside, brush them with paint, and then stamp them on paper.
[3] Try different colors and combinations.
Dancing Bubbles
Age: 3-9 years
Time: 40-90 minutes
Bubbles can be a great way to have fun and learn about science! This activity combines the two. Use this activity to discuss molecules and bonds.
Materials Needed:
¼ cup warm water
2 tablespoons sugar
1 tablespoon dish soap
Small bowl
Spoon
Winter glove
Bubble wand
Instructions:
[1] Pour warm water into a small bowl, then add the sugar and stir well.
[2] Pour dish soap into a bowl and gently stir until combined.
[3] Let cool to room temperature.
[4] Dip the bubble wand in, blow a bubble, and catch it with a gloved hand!
Creating a Medieval Castle out of Cardboard
Age: 5-15 years
Time: 2+ hours
Step into medieval times and role-play history by creating an immersive medieval castle. This activity can be adapted for older or younger children, but will require some prep. You’ll want to hold onto cardboard boxes for a few weeks or months (depending on the size of the castle you wish to make) or reach out to your local no-buy, no-sell Facebook Group to see if neighbors have cardboard boxes they would give away. Get inspired by this kid-sized castle.
Materials Needed:
Cardboard
Markers
Paint
Paintbrushes
Colored paper
Scissors
Box cutter
Tape
Hot glue
Printer
Paper
Ruler
Instructions:
[1] Print out images of real medieval castles to use as inspiration.
[2] Draw a model of what you’d like your cardboard castle to look like.
[3] This project can be adaptive to your size needs. If you want to make a model replica, use shoeboxes and medium-sized boxes to construct the castle, working on fine motor skills. If you want to create a castle that you could walk through, you may want to collect some refrigerator boxes.
[4] Glue boxes together in a configuration you like.
[5] Mark where you want doors, windows, and ornaments (trims, family crest, etc.).
[6] Using the box cutter, cut out doors and windows.
Paper Mache a Globe
Age: 7-13 years
Time: 2+ hours
Learn about world geography by creating your own replica model! This step-by-step tutorial was originally created by Crafts by Amanda.
Materials Needed:
Paper mache globe ornament
Sand
Acrylic paints: white, light blue, green, and brown
White craft glue
Acrylic sealer spray
Paintbrush
Cotton ball
Cotton swab
Paper plate
Empty egg carton to use as a stand
Instructions:
[1] Place the egg carton upside down and use it to balance your globe on while you paint. Paint the entire paper mache globe with light blue paint and let it dry. Repeat for a second coat.
[2] Use a map of the Earth as a guide, then lightly pencil the continents onto the globe.
[3] Pour some sand onto a paper plate.
[4] Fill each continent you just drew with dots of glue.
[5] Gently roll the globe around in the sand until all continents are covered. Carefully tap off excess. Put the globe onto an egg carton to dry.
[6] Once dry, give the globe a final tap or two to shake off any loose sand.
[7] Paint the sanded continents green, except for Antarctica and the top of the globe, which should be painted white. Let dry completely.
[8] Use a cotton swab to gently dab brown paint onto areas of the green where your map indicates deserts or more barren land. Let dry.
[9] Put some white paint onto a paper plate. Unravel a bit of your cotton ball and drag it lightly over the top of the white paint. Dab off excess onto the plate and use the cotton ball to add cloudy areas around the globe. Let dry.
Potato Stamps
Age: 6-12 years
Time: 30-45 minutes
These stamps will make any curriculum hands-on! Use this while learning the alphabet or math, or learn print-making with the craft.
Materials Needed:
potatoes
knife
cutting board
cookie cutters (optional)
paper
paint (tempera or acrylic)
paint brush or roller
paper towels
Instructions:
[1] Wash potatoes well and pat dry.
[2] Cut potatoes in half lengthwise for a large stamp, or widthwise for a smaller stamp; pat ends dry with a paper towel.
*important to supervise during this section*
[3] Carefully carve out your desired shape on the potato’s flat, cut side – make sure the carving is at least 1/2 inch deep.
[4] Dip or brush on a thin layer of paint.
[5] Press onto paper.
[6] Wipe the potato off and repeat steps 4 & 5 as many times as you would like.
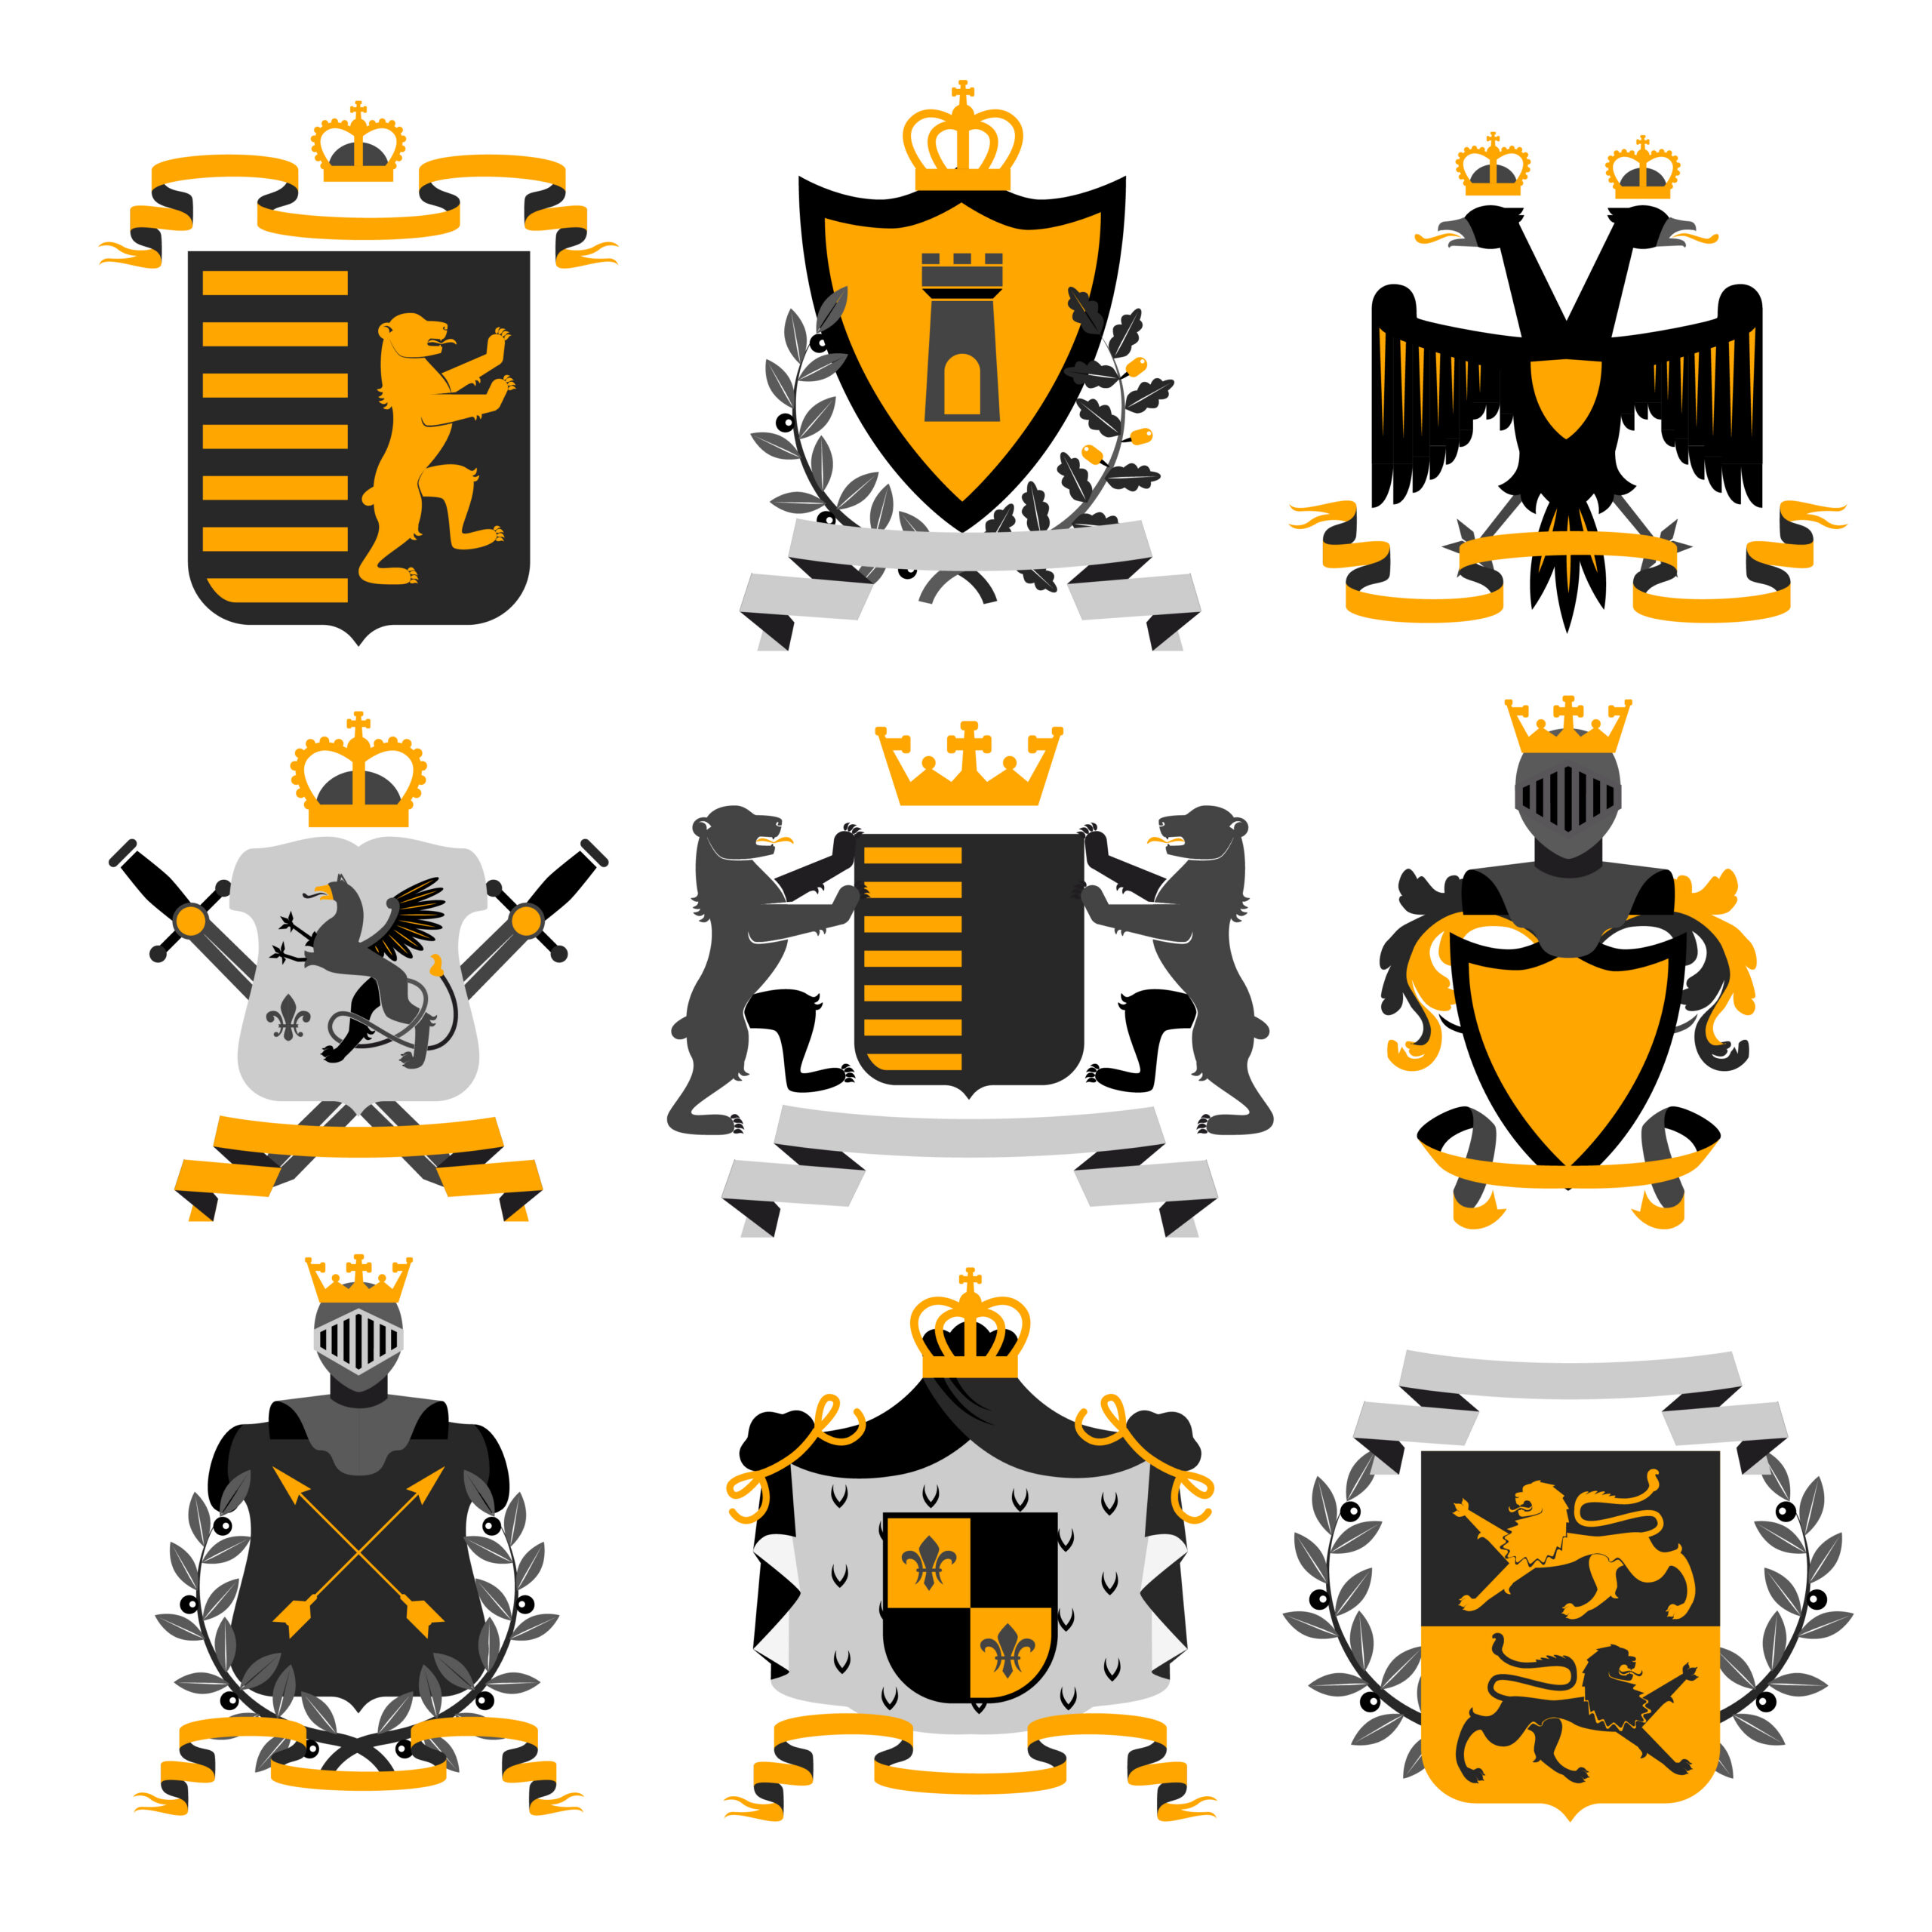
Making Your Own Family Shield or Crest
Age: 9-13 years
Time: 30-45 minutes
This fun activity is a great way to reflect on what makes your family special and learn about the tradition and history of family crests! Have your kiddo think about what makes your family special and what your family is known for, and learn about how other families have made their crests.
Materials Needed:
Scratch paper and pencils
Printable watercolor paper or nice white cardstock
Fine tip Sharpie or other fine tip black pen
Watercolors
Brushes
Jar for water
Instructions:
[1] Brainstorm what makes your family special.
[2] Think about what images represent those things.